Category Archives: information

posts tagged with the “information” title, involve any info related to the workings of the TC1, including setting it up, and troubleshooting problems.

Troubleshooting your seismic station set up

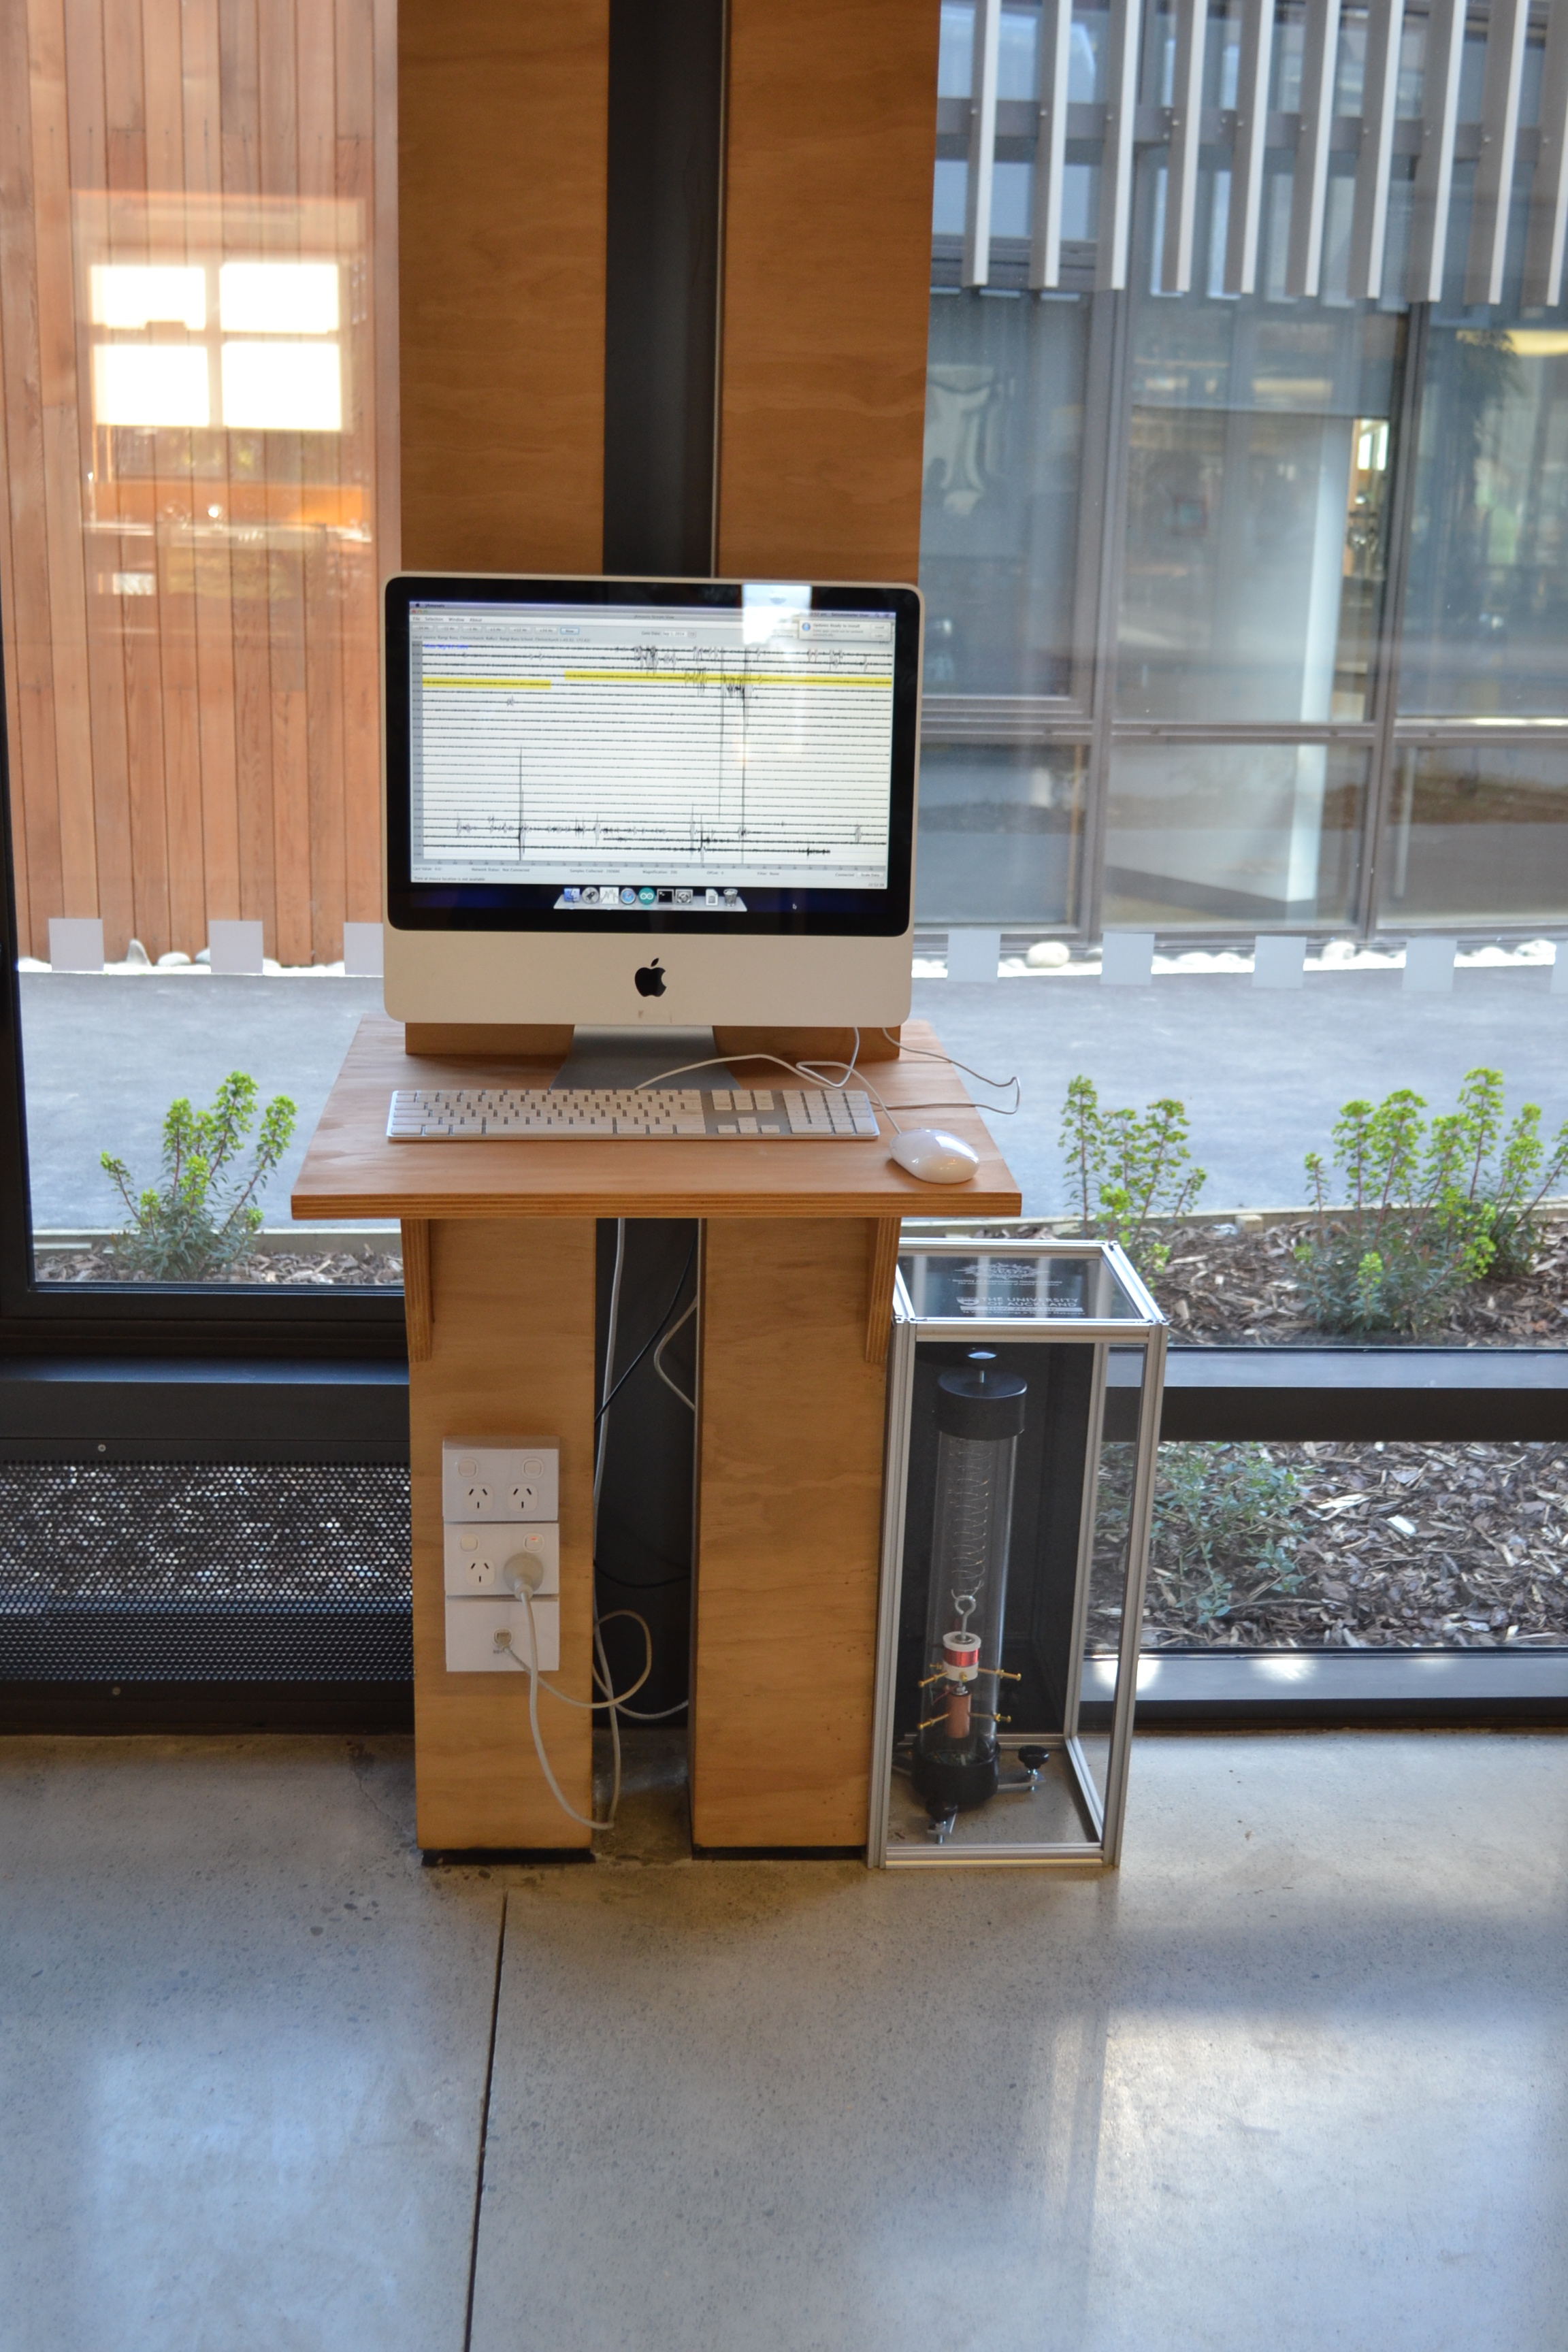
At the moment, each Ru seismic station is sending a screenshot of its recordings to the University of Auckland. There are several ways to see this screenshot. For example here, and if you click on your station on our network map. If your screenshot is not up-to-date (and remember, seismologists’ clock is in UTC, not local time!), it is worth checking a few things:

  1. Is the computer associated with your station working? If you see signal being recording on the screen, the answer is “yes.”
  2. Is the signal you see on your screen “live?” In other words, is the latest part of the wiggles current? If not, make sure you hit the “now” button in jamaseis. Do you see new wiggles being recorded?
  3. Next, open a browser on the computer of your station. Can you surf the web? If not, make sure you have a working ethernet connection. Because wireless connections are prone to timing out, we recommend wired connections.  A reboot may prompt you to (re)make the connection to the internet, or you may need an IT person to help you.
  4. If you have power (1), you are “live” (2) and you have an internet connection (3), but your screenshot is still out of date, please contact the Ru team at the university of Auckland.

Upgrading jAmaSeis on the Raspberry Pi

Updating the version of jAmaSeis on a Raspberry Pi is a pretty straight forward exercise. jAmaSeis will perform a check from time to time, when a new version is available a pop up window will appear detailing the new version.

Upgrading is not necessary for uploading you stations image to the University but it is a good practice to keep the software up-to-date. If you are sharing your data with IRIS you will need to upgrade your software.

To update visit the IRIS website, http://www.iris.edu/hq/jamaseis/ from the Raspberry Pi using the Web Browser. Download the Linux jAmaSeis_x_x_x_x.sh to your Downloads directory.

Download latest jAmaSeis

Make sure to close jAmaSeis before updating. You will need to open a Terminal prompt and make the script executable. It’s important to run the script with the sudo command, this will upgrade the currently installed version of jAmaSeis.

Run jAmaSeis installer

Commands to run, replace jAmaSeis_x_x_x_x.sh with your downloaded version. You can use tab completion to fill in the filename by typing jA then pressing the tab key. The shell will fill out the rest for you.

cd Downloads
ls
chmod +x jAmaSeis_x_x_x_x.sh 
sudo ./jAmaSeis_x_x_x_x.sh
Enter the seismometeruser password to start the installer

Follow the installer prompts to complete the upgrade.

Setup jAmaSeis 00

Setup jAmaSeis 01

Setup jAmaSeis 02

Setup jAmaSeis 03

Workshop in Auckland, January 27th-29th, 2016

John Milne's Lamp post seismometer

January 27th:

Registration starts at 8.30am, outside room 412, located on the 4th floor of the Science Centre, building 303, 38 Princes St.,  Auckland. Easiest car parking is under the Owen Glenn building.

Room 412, building 303:

  • 9-9.30: Welcome and introductions
  • 9.30-10.30: Intro to Lablet, plus Lablet demo circuit: Doppler, Lift, big G, Aliasing. How to get Lablet at the google play store.
  • 10.30-11.00: Morning tea (basement foyer, 303)
  • 11.00-12.00: Stage 1 lab activity on the trajectory of a thrown ball
  • 12.00-12.30: Lablet discussion
  • 12.30-13.30: Lunch  served in the basement foyer of the Science Centre
  • 13:30-14.30: The anatomy of the TC1 seismometer with Ted Channel, Kasper van Wijk and James Clarke
  • 14.30:15.00: TC1 discussion about all the previous
  • 15.00-15.30: Afternoon tea  (basement foyer, 303)
  • 15.30-16.15: The arduino environment (as part of the TC1 and beyond) with live demos (“arduemos?”) by Martin Smith and Jonathan Simpson
  • 16.15-16.45: An introduction of Jamaseis by John Taber, IRIS
  • 16.45- 17.15: Wrap-up discussion

January 28th (to be held on Waiheke):

Meet at 8.30am at the Auckland Ferry terminal.
9.00 am Auckland – Waiheke
9.45 am Matiatia – The Goldie Room
10.00 am Arrive The Goldie Room

  • 10.00-10.30: Welcome, and discussion on indigenous knowledge in seismology, geosciences, and science in general, led by Dan Hikuroa
  • 10.30-11.00: Geonet: New Zealand’s seismic network by the professionals in seismology, Caroline Little
  • 11.00-11.15: Morning tea
  • 11.15-11.30: Katrina Jacobs on SARndbox
  • 11.30-12.00: An example of earthquake location by Kasper van Wijk and James Clarke; from primary school to secondary school level
  • 12.00-12.45: Discussion on the current use of Ru in the classroom, the links to plate tectonics, NZ geosciences and NCEA, led by Glenn Vallender
  • 12.45-14.00: Lunch provided
  • 14.00-14.30: School seismology lessons learned from overseas, led by Michelle Salmon, Australian National University
  • 14.30-15.00: Break out session to discuss in small groups all that was presented up to this point.
  • 15.00-15.30:  Everything looks good on a log scale, by Martin Smith on the Gutenberg-Richter and Omori’s Law for primary and secondary students
  • 15.30-17.00: Closing discussion with typical Goldie’s refreshments

5.20 pm The Goldie Room – Matiatia
5.50 pm Waiheke – Auckland
6.25 pm Arrive back in Auckland

January 29th (on Campus)

Room B05, Science Centre:

  • 9.00-9.45: IT challenges, led by Yvette Wharton and Mat Carr
  • 9.45-10.15: Pyjamaseis and pcduinos by Jonathan Simpson (powerpoint presentation)
  • 10.15- 10.30: Morning tea in the foyer of the basement in the Science Centre
  • 10.30-11.30: Breakout sessions by level about the road ahead. Primary schools with Ludmila Adam, Secondary schools with Kasper van Wijk, and Tertiary institutions with Dan Hikuroa
  • noon-5.15pm:  Field trip to Rangitoto, leave on the 12.15 ferry, lunch provided on the island, leaving Rangitoto at 4.30pm. Field guide

Assembling the case for your TC1

Below you find detailed instructions on the assembly of an aluminium and plexi-glass case for the TC1 seismometer. It was successfully tested by an 11-year old volunteer from Oratia District School (thank you, Hayden!)

Click on the images for more detail and a short description.Once assembled, it is recommended to fasten the completed case to a wall.


Thank you Mark,  Trevor, Steve and all others from the Science and Engineering Workshop!

Setting up your new seismic station

If all is well, you received a TC1 seismometer, a computer with everything installed, and a flat-packed protective case.

    • Unpack the computer and TC1. Plug the power, the usb keyboard/mouse and ethernet cable into the computer.
    • Connect the TC1 to the computer with the USB cable in the USB port marked “TC1.”
    • Hook the magnets to the slinky attached to the inside of the top cap of the TC1.
Our TC-1 came as a kit
  • Lower the magnets into the tube so that the bottom magnet is inside the copper damping ring and the top magnet is inside the coil.
  • Level the magnets with the three knobs on the legs. The goal is to make sure the magnets do not touch the rings.
  • Also, make sure the top of the magnets are flush with the top of the copper ring and coil, respectively. Small adjustments to the vertical position of the magnets can be made with the knob on the top lid.

tc-1-02-made

Now turn on the computer. All the necessary software to display your seismic data will turn on automatically. The most recent versions of the station software include a standard slide-show that explains the TC1, has acknowledgements, a map of NZ latest earthquakes (data courtesy of geonet), and the seismic data from your station.

You can turn the slide show on and off in the bottom
control panel. Just go the bottom of the screen with your mouse, and the button will appear.

Next, we assemble the case, and place it over the TC1. We recommend fastening the case to a wall, or to the floor.

Congratulations! You are up and running! If you have any questions or comments, please feel free to contact us using the mailing list on the left.

Soon, you will see your first signals!


SchoolSeismometerSetup

How to get involved with Ru

If your institution wants to get involved in the Ru network, there are a couple of things to consider. In terms of hardware, you will need a public place (library, or foyer) with easy access to:

  1. power,  and
  2. a wired internet connection

The hardware you need consists of:

  1. the TC1 seismometer,
  2. a dedicated computer,
  3. a case to protect the device from bumps.

Maybe most importantly, you need a Station Manager.  A teacher would be the most logical choice, but it could be  a parent. The station manager does not need to be a seismologist, but  someone who can field basic questions from students,  solve small problems with the station, and relay bigger ones to us for troubleshooting.

To give you an idea on how your class project may go, you can watch this video.

In the early days, support from the Foundation of the Society of Exploration Geophysicists, allowed us to sponsor scholarships available for the most suited institutions. The current model is for schools to self-fund the hardware. If you want to know more, please write us.


SchoolSeismometerSetup
Rangi1: The setup at Rangi Ruru
20140725_123055
AUCK: the station at the University of Auckland